To remove shear bolts, first stabilize the equipment and then unscrew the bolt with a wrench or a drill. Ensure replacement bolts match OEM specifications for safety and functionality.
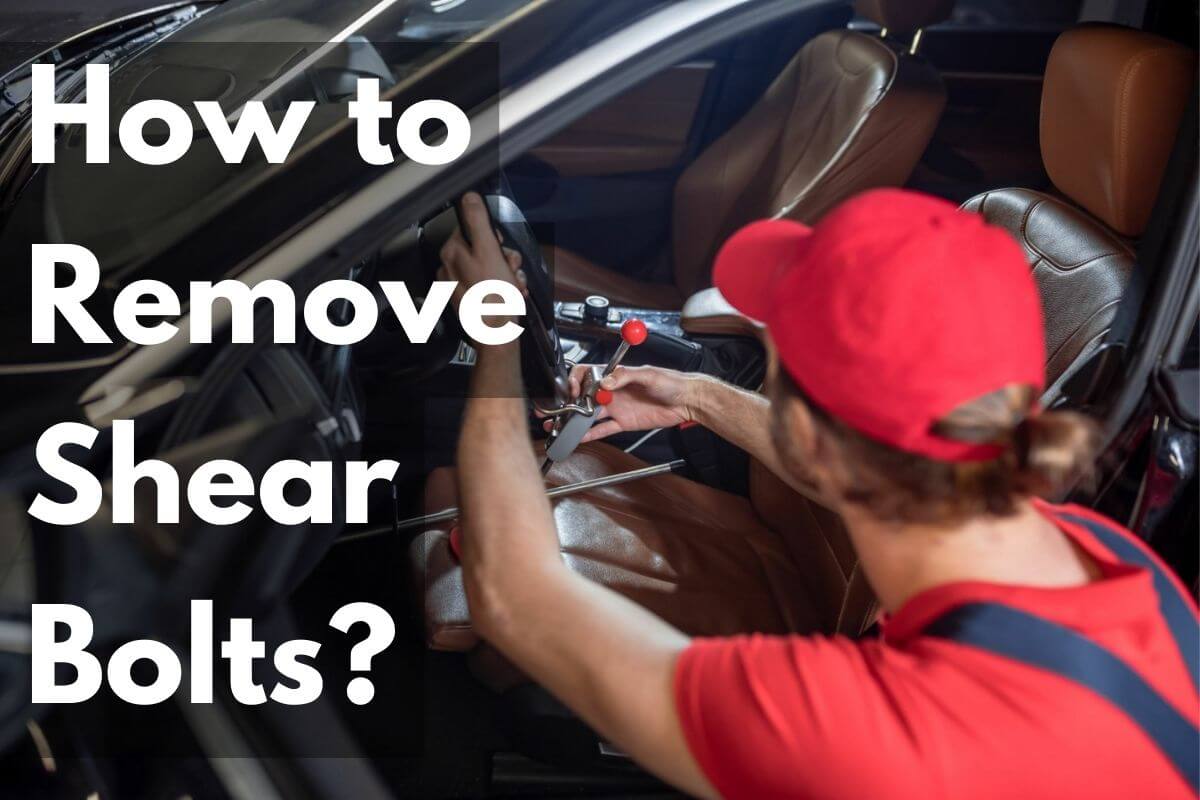
Removing shear bolts, designed to prevent mechanical overload, is a straightforward task yet crucial for maintaining various types of machinery. These specialized bolts are intended to fail under specific stress levels to protect the equipment from damage. Before attempting removal, it’s essential to turn off and stabilize the machinery to prevent any movement that could lead to injury or further damage.
With the right tools, such as a socket wrench or a power drill, and a bit of elbow grease, you can easily extract the damaged shear bolt. Remember to wear appropriate safety gear and follow the manufacturer’s guidelines throughout the process. Once removed, replacing the shear bolt with one that matches the original equipment manufacturer’s (OEM) specifications is vital to ensure the continued safety and proper functioning of your machinery.
Tools And Materials Needed
Before diving into the task of removing shear bolts, it is crucial to gather the right tools and materials. A successful operation ensures that you can safely and efficiently replace the damaged shear bolts without causing additional damage to yourself or the machinery. This section of the blog will outline the essential items you need to have on hand.
Safety Gear
To protect yourself from any potential harm, wearing the proper safety gear is non-negotiable. Make sure you have:
- Heavy-duty gloves to prevent cuts and abrasions
- Safety goggles to shield your eyes from metal shavings
- Steel-toe boots to protect your feet from heavy tools and dropped parts
Wrench Or Socket Set
To loosen the shear bolts, you’ll require a high-quality wrench or socket set. Ensuring you have a range of sizes is vital, as the dimension of the shear bolt will vary based on its application. Look for these features:
- Various sizes to match the most common shear bolt dimensions
- Durable construction for long-lasting performance
- A ratcheting handle for ease of use in tight spaces
Drill
If the shear bolt is too damaged to loosen with a wrench or socket, you might need a power drill. A drill can help you create a guide hole for an extractor if required. Choose a drill with:
- Adjustable speed settings for control
- A comfortable grip to reduce fatigue
- Reliable battery life or a dependable power cord
Extractor Kit
Severely stuck or broken shear bolts may necessitate the use of an extractor kit. It will allow you to remove the remnants of the bolt without causing damage to the surrounding material. Your kit should include:
- Several extractor sizes to match different bolt dimensions
- Durable construction to bear the torque required for extraction
- Clear instructions to facilitate proper use
Replacement Bolts
After removing the damaged shear bolts, installing replacement bolts is the final step. Ensure you have the correct size and strength rating according to the machinery’s specifications. It is advisable to:
- Verify the size and thread pattern matches the original bolts
- Choose bolts rated for the specific stress they’ll encounter
- Purchase extras to have on hand for any future replacements
Step-by-step Guide
Encountering a shear bolt that’s outlived its purpose can create a pause in any project. These specialized safety bolts are designed to snap under excess load, protecting machinery. But when it comes time to replace them, removal often seems daunting. Fear not, as this straightforward Step-by-Step Guide is here to help you efficiently remove and replace a shear bolt so your project can press on without a hitch.
Step 1: Prepare The Area
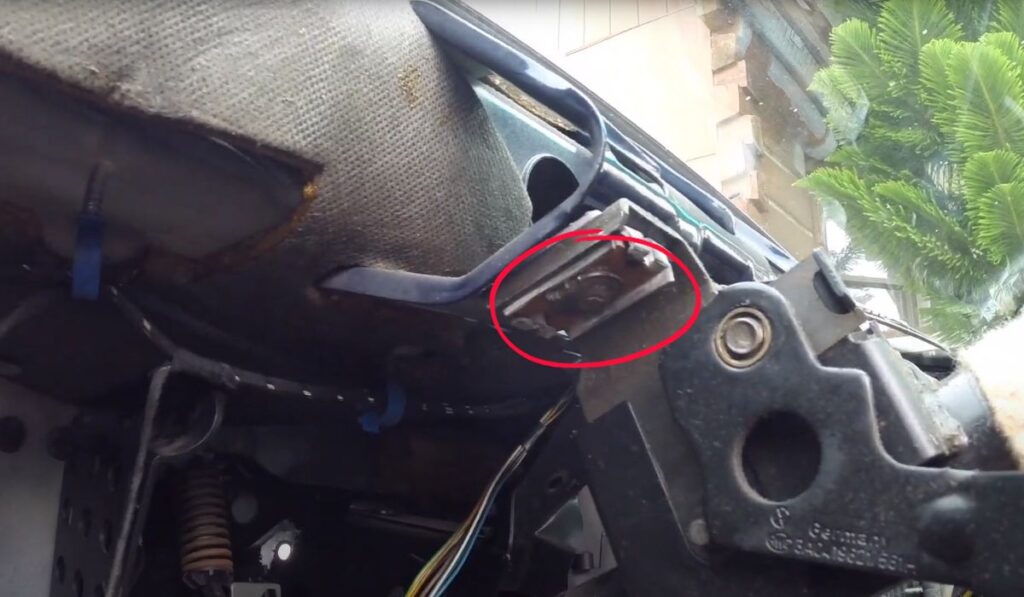
Begin by cleaning the area around the shear bolt. Remove any debris or rust with a wire brush. This step ensures clear access to the bolt and prevents any foreign particles from hindering the removal process.
Step 2: Apply Penetrating Oil
Generously spray penetrating oil onto the bolt. This helps loosen the grip by seeping into small crevices. Allow the oil to sit for several minutes to ensure it penetrates thoroughly. For best results, let it work overnight.
Step 3: Loosen The Nut
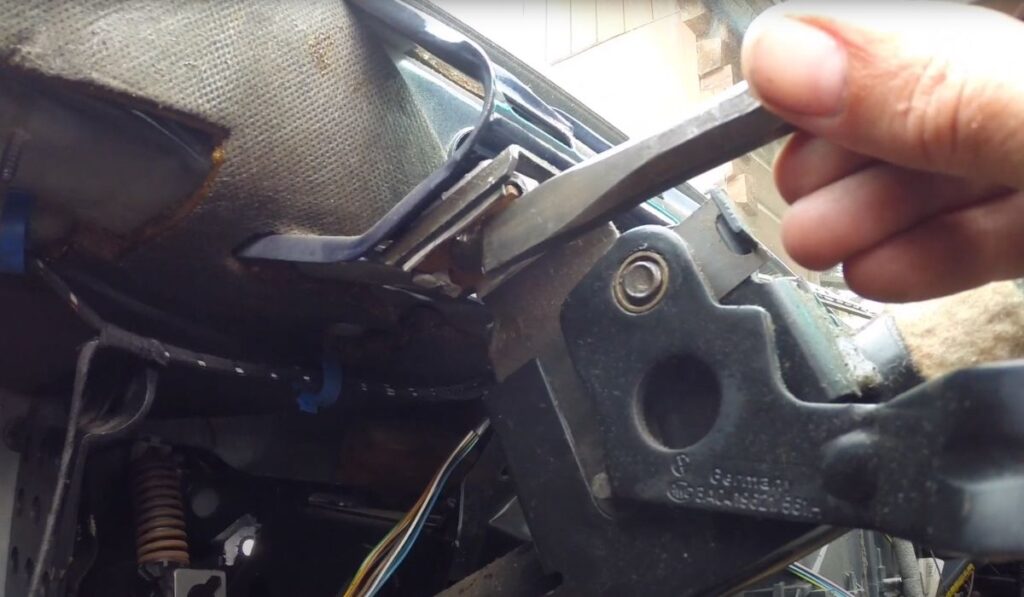
Take a chisel and put it right on the corner and hit the chisel head with a hammer. By doing this the bolt will be turned a little bit. When the bolt is loosened gently turn the bolt counterclockwise with your hand.
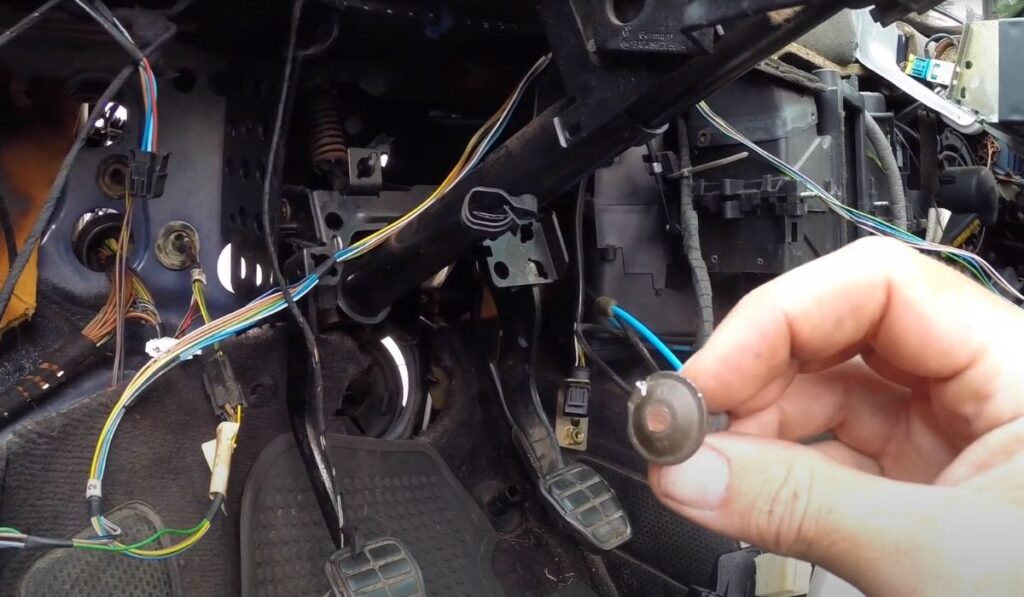
Step 4: Remove The Bolt Head
If the shear bolt’s head is still intact but the threads are broken, gently tap the head with a hammer to loosen it from the shaft. Then, carefully unscrew and lift away the bolt head.
Step 5: Use An Extractor Kit
For a bolt broken flush with the surface, use a screw extractor kit. First, drill a pilot hole into the bolt’s center. Then insert the extractor bit into the hole and turn counterclockwise to remove the bolt shaft.
Step 6: Remove The Broken Bolt
Once the extractor is securely in the pilot hole and gripped the bolt’s interior, continue to turn counterclockwise. This action will extract the bolt. Apply steady, firm pressure to ensure success.
Step 7: Install The Replacement Bolt
Align the new bolt into the hole from which the old one was extracted. Hand-tighten the bolt first to prevent cross-threading, followed by a wrench for secure fastening. Make sure it’s tightened to the manufacturer’s specifications.
Frequently Asked Questions About Removing Shear Bolts
How Do You Remove Security Shear Nuts?
To remove security shear nuts, use a specialized removal tool or shear nut driver designed for their unique shape. Otherwise, grip the nut with locking pliers and rotate counterclockwise, applying steady pressure to loosen it.
Are Shear Bolts Different Than Regular Bolts?
Yes, shear bolts are different from regular bolts. They are designed to break under specific stress levels, protecting machinery from damage. Regular bolts do not have this intentional weak point.
How Do Shear Bolts Work?
Shear bolts are designed to break or shear off when a predetermined load or stress is applied, providing a protective mechanism against mechanical overload and potential damage to machinery. By doing so, they act as a fail-safe to prevent further damage.
How Do You Remove A Stuck Bolt?
To remove a stuck bolt, apply penetrating oil and let it soak in. Next, use a wrench or socket to twist slowly. If it resists, apply heat with a blowtorch cautiously, then try turning again. Use a bolt extractor kit for severely stuck bolts. Always wear safety gear.
Conclusion
Removing shear bolts doesn’t have to be a hassle. With the right techniques and tools, you can tackle this task effortlessly. Remember to stay safe and use proper equipment. Your machinery depends on the integrity of components like shear bolts, so never hesitate to replace a bolt when needed. Maintaining your equipment helps ensure longevity and reliability.