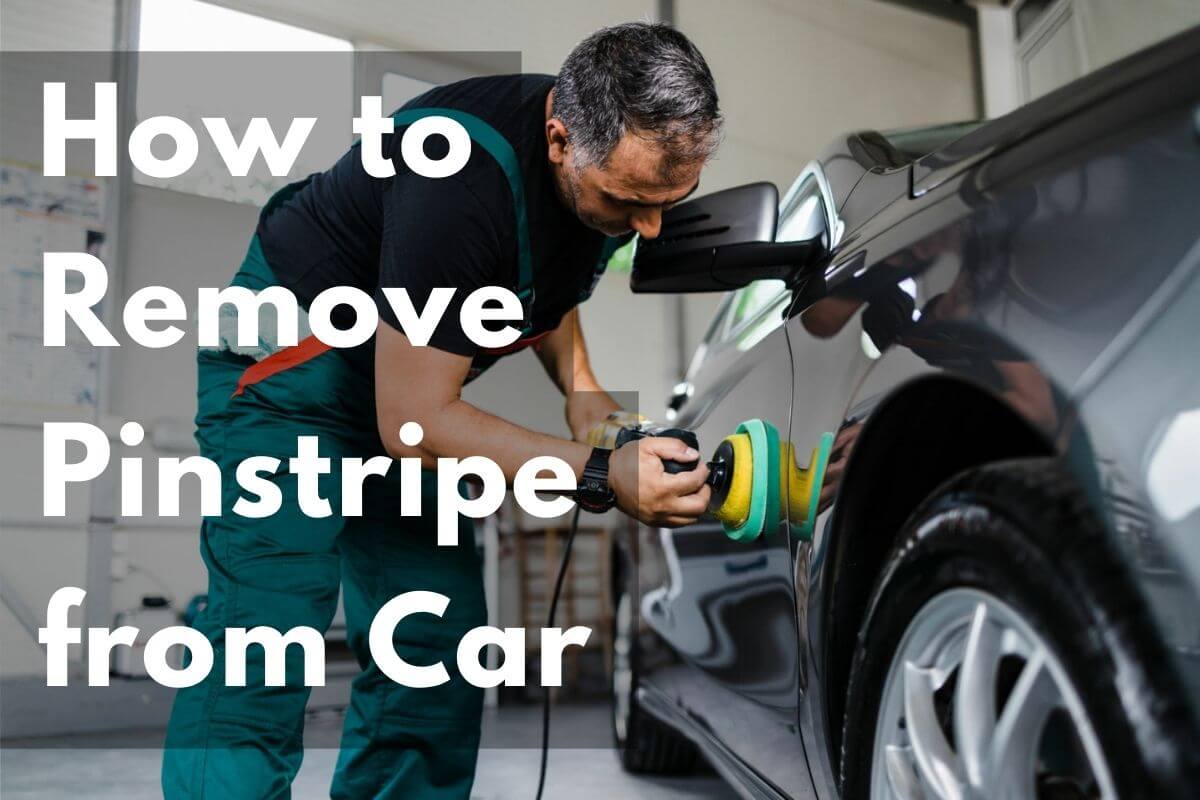
To remove a pinstripe from a car, apply heat with a hair dryer and slowly peel it off. Use an adhesive remover for any residue left behind.
Removing a pinstripe from your vehicle can rejuvenate its appearance, adding a fresh and clean look. Whether you have bought a used car adorned with a previous owner’s customization or your taste has changed, getting rid of an old pinstripe is straightforward.
Engaging in this small DIY project can save you some money and a trip to the auto shop. The right tools, like a heat source and an adhesive remover, are vital to erasing the pinstripe without damaging the car’s paint. This process does not require professional skills, just patience, and a steady hand. Ensuring the bodywork remains unblemished will maintain the vehicle’s aesthetic and resale value.
Table of Contents
Methods For Removing Pinstripe
Refreshing your car’s look often means removing old pinstripes. Not all methods suit every car. Choose the right one to avoid damage. Below, explore safe and effective ways to remove pinstripes from your vehicle.
Method 1: Using Heat And Adhesive Remover
Heat softens the pinstripe’s glue. This makes peeling simpler. After heating, apply an adhesive remover. It cleans any leftover residue. Follow these steps:
- Heat the pinstripe with a hairdryer or heat gun. Keep it moving to prevent paint damage.
- Gently lift the edge and peel away.
- Apply an adhesive remover on any glue left.
- Wipe clean with a microfiber cloth.
Method 2: Using A Pinstripe Removal Tool
Special tools exist for pinstripe removal. They are safe for car paint when used correctly. This method includes:
- Attach the removal tool to a power drill.
- Move over the pinstripe gently to lift it off.
- Clean the area with soapy water afterward.
Method 3: Using A Diy Solution
You can make a solution at home too. It’s a cost-effective way. Remember to test it on a small area first. Here is a simple recipe:
- Mix water with some baking soda.
- Apply the mixture to the pinstripe.
- Let it sit, then rub gently with a cloth.
- Rinse with clean water.
Step-by-step Guide To Removing Pinstripe

Transforming your vehicle’s look by removing an old pinstripe is simpler than many think. Follow this guide to peel away that dated stripe, returning your car to its sleek appearance. With some patience and the right approach, you’ll achieve a professional result without a costly trip to the shop.
Step 1: Gather The Necessary Tools And Materials
Gearing up is the first crucial step. Make sure you have:
- Heat gun or hair dryer
- Adhesive remover
- Pinstripe removal tool or rubber eraser wheel
- Microfiber towels
- Car wash soap and water
- Car wax or polish
Step 2: Prepare The Car Surface
Begin by cleaning. It’s important to wash the area around the pinstripe thoroughly. This removes dirt and debris. Use a microfiber cloth with car wash soap and water. Let the surface dry completely before proceeding.
Step 3: Apply Heat To The Pinstripe
Next, apply gentle heat to the pinstripe using a heat gun or hair dryer. This softens the adhesive, making the stripe easier to remove. Move the heat source slowly to avoid damaging the car paint.
Step 4: Use Adhesive Remover Or Pinstripe Removal Tool
Once heated, carefully lift the pinstripe’s edge. Then either gently pull it off or use a pinstripe removal tool. If adhesive remains, apply a small amount of adhesive remover onto a microfiber cloth and wipe away residue.
Step 5: Clean And Polish The Car
Finally, clean the area again with soap and water. Dry thoroughly and then apply car wax or polish. This will protect the paint and restore the shine where the pinstripe once was.
Safety Tips And Precautions to Remove Pinstripe from Car

Removing a pinstripe from a vehicle requires precision and the right approach. To maintain the paintwork and to achieve a clean result, follow these essential tips and precautions.
Tip 1: Test The Method On A Small Area
Before fully committing to a stripe-removal practice, perform a test. Choose a discreet section of the stripe. Apply your chosen removal method. This test helps ensure that the chosen strategy doesn’t damage the car’s paint.
Tip 2: Be Patient And Take Your Time
Pinstripe removal is not a race. A careful and slow approach often leads to the best results. Rushing can lead to scratches and damage to the vehicle’s surface.
Precaution 1: Protect Yourself And Your Car
Wear protective gloves to shield your hands from chemicals or heated equipment. Also, cover the surrounding areas of the car to protect them from any removal substances.
Precaution 2: Consult A Professional If Unsure
If you have doubts, seek advice from a professional. Experienced technicians can provide guidance or perform the removal to avoid potential mishaps.
Frequently Asked Questions On How To Remove Pinstripe From Car
How Do You Remove Pinstripe From Car Paint?
What Tool Is Used To Remove Pinstripes Decals And Adhesives Without Harming The Paint?
How Do You Remove Old Painted Pinstripes?
How Do You Remove Pinstripe Stickers?
Conclusion
Removing pinstripes from your vehicle rejuvenates its appearance and can be a fulfilling DIY project. By following the steps outlined, you can achieve a smooth, clean look without professional help. Patience and the right tools are your best allies in preserving your car’s finish. For more car maintenance tips and tricks, keep following our blog Conveyanceopedia.com.


